
Baking a delicious loaf of bread is a complex process that requires a lot of time. If you’re planning to make your own bread to sell on a large scale, it’s necessary that you plan ahead to ensure that your products turn out just right. Planning well means knowing beforehand what steps you need to take. The following are the four main steps to making bread.
Mixing
Mixing involves combining all the ingredients used to make bread (usually water, wheat flour, salt, fat, and leavening). The main purpose of doing so is to blend and hydrate your dry ingredients as well as to incorporate air and encourage gluten development which allows the dough to be handled properly. There are plenty of variables that affect the dough’s quality such as mixing equipment, mixing time, and dough temperature. An industrial spiral mixer is usually used to combine all the ingredients together thoroughly for nine to 15 minutes at high speed. The optimal final dough temperature should be at around 76 to 82°F (25 to 28°C).
Shaping
This step is when you shape the dough into your desired shape and size. Before you begin shaping, the dough must undergo the first proof (also known as bulk fermentation) and must be folded. This process usually takes about 1 ½ to 2 ½ hours at room temperature or up to three hours if you’re in a cold environment. After 30 minutes of proofing, you need to gently scrape the edges of the bowl by pulling the edge of the dough that’s farthest away from you towards yourself to fold the dough in half. Repeat this on all four sides and wait another 30 minutes before you fold again. Afterward, shape your dough by rolling it out, then rolling it up, pinching the seams, then bringing the ends over. It should be able to fit in a traditional rectangular loaf pan.
Proofing
Proofing is when you allow the dough to rise and develop your desired crumb structure. The yeast in the dough ferments and produces gasses that leavens the dough and increases its size. This happens after you’ve shaped your dough and placed it in its proofing vessel. For the final proof, your dough should double in size. For optimal flavors, allow your bread to proof in your fridge to retard fermentation. This also makes it much easier to handle when transferring it to different bread pans or containers.
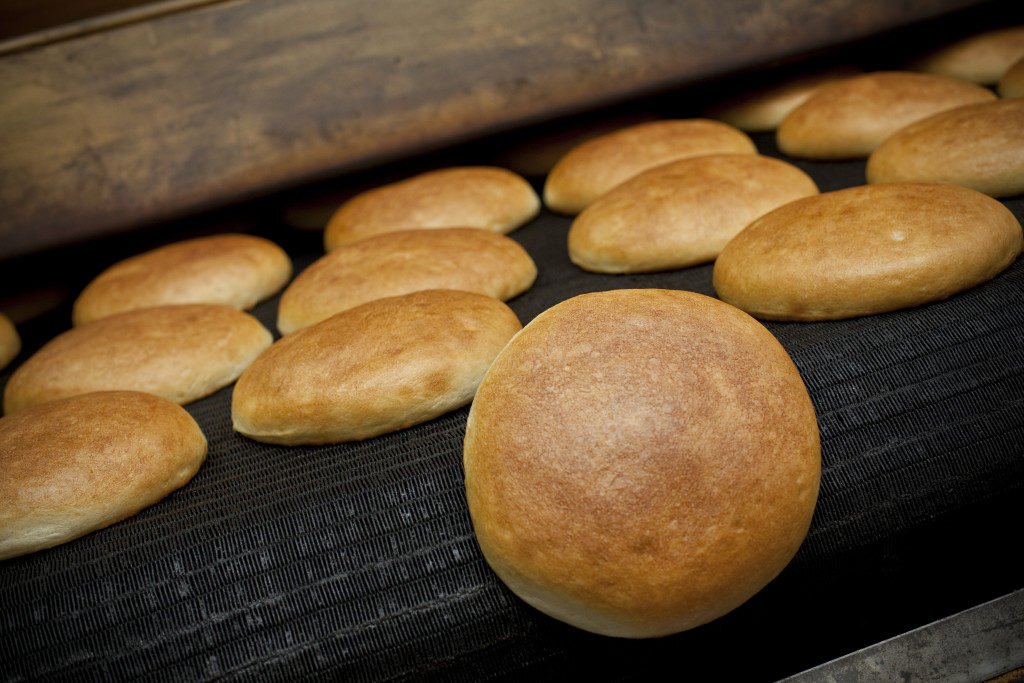
Baking
Before you bake your dough, make sure to score it. This means slashing through it with a blade or knife. This is to control how the bread expands. Once you’ve done this, it’s time to put your dough in the oven to bake. Baking time depends on what kind of bread you’re making, what your oven conditions are, and how dark you want your loaf to turn out, but generally, a typical loaf of bread takes 10 to 20 minutes at 400 to 420°F (204 to 216°C).
Baking bread is much easier than you think. Once you’ve tried it out for yourself and realized how simple it is, you’ll only want to keep making more.