In a world where beauty routines are getting more complex by the minute, there’s something incredibly refreshing about the minimalist makeup trend. No heavy bags of cosmetics, no 12-step routines—just five hardworking products that can get you out the door looking polished and feeling confident.
Whether you’re short on time, budget-conscious, or simply love the clean aesthetic of minimalist beauty, this guide will walk you through how to do makeup with just five products. Yes, really—five.
- Why Go Minimalist With Your Makeup?
- What 5 Products Do You Actually Need?
- How to Do Makeup in 5 Easy Steps
- Optional: Can You Stretch the Products Further?
- What Should You Skip?
- Tips for Making Your Minimalist Makeup Last All Day
- Who Is This Routine Best For?
- How to Build a Capsule Makeup Bag
- What Brands Make Great Minimalist Makeup?
- The Bottom Line: Less Really Is More
- TL;DR: Your 5-Product Makeup Routine
Why Go Minimalist With Your Makeup?
Before we jump into the how-to, let’s answer the obvious: Why even bother downsizing your makeup routine?
Here are some great reasons:
- Saves Time: Fewer steps mean a quicker morning routine.
- Less Clutter: Your makeup bag (and your bathroom) stays organized.
- Cost-Effective: You save money by buying only what you actually use.
- Skin-Friendly: Fewer products mean fewer chances of irritation or clogged pores.
- Travel-Friendly: Going minimalist means your whole makeup routine can fit in a small pouch.
Now, let’s talk about the core five products and how to use them.
What 5 Products Do You Actually Need?
The key to minimalist makeup is choosing multi-tasking products. Each item should do more than one thing, helping you create a balanced, natural look without needing extra tools or products.
Here’s your power-five minimalist kit:
- Tinted Moisturizer or BB Cream
- Cream Blush
- Brow Gel or Pencil
- Mascara
- Lip and Cheek Tint (or a multi-use balm)
Let’s break these down and see how to build a full look with just these five.
How to Do Makeup in 5 Easy Steps
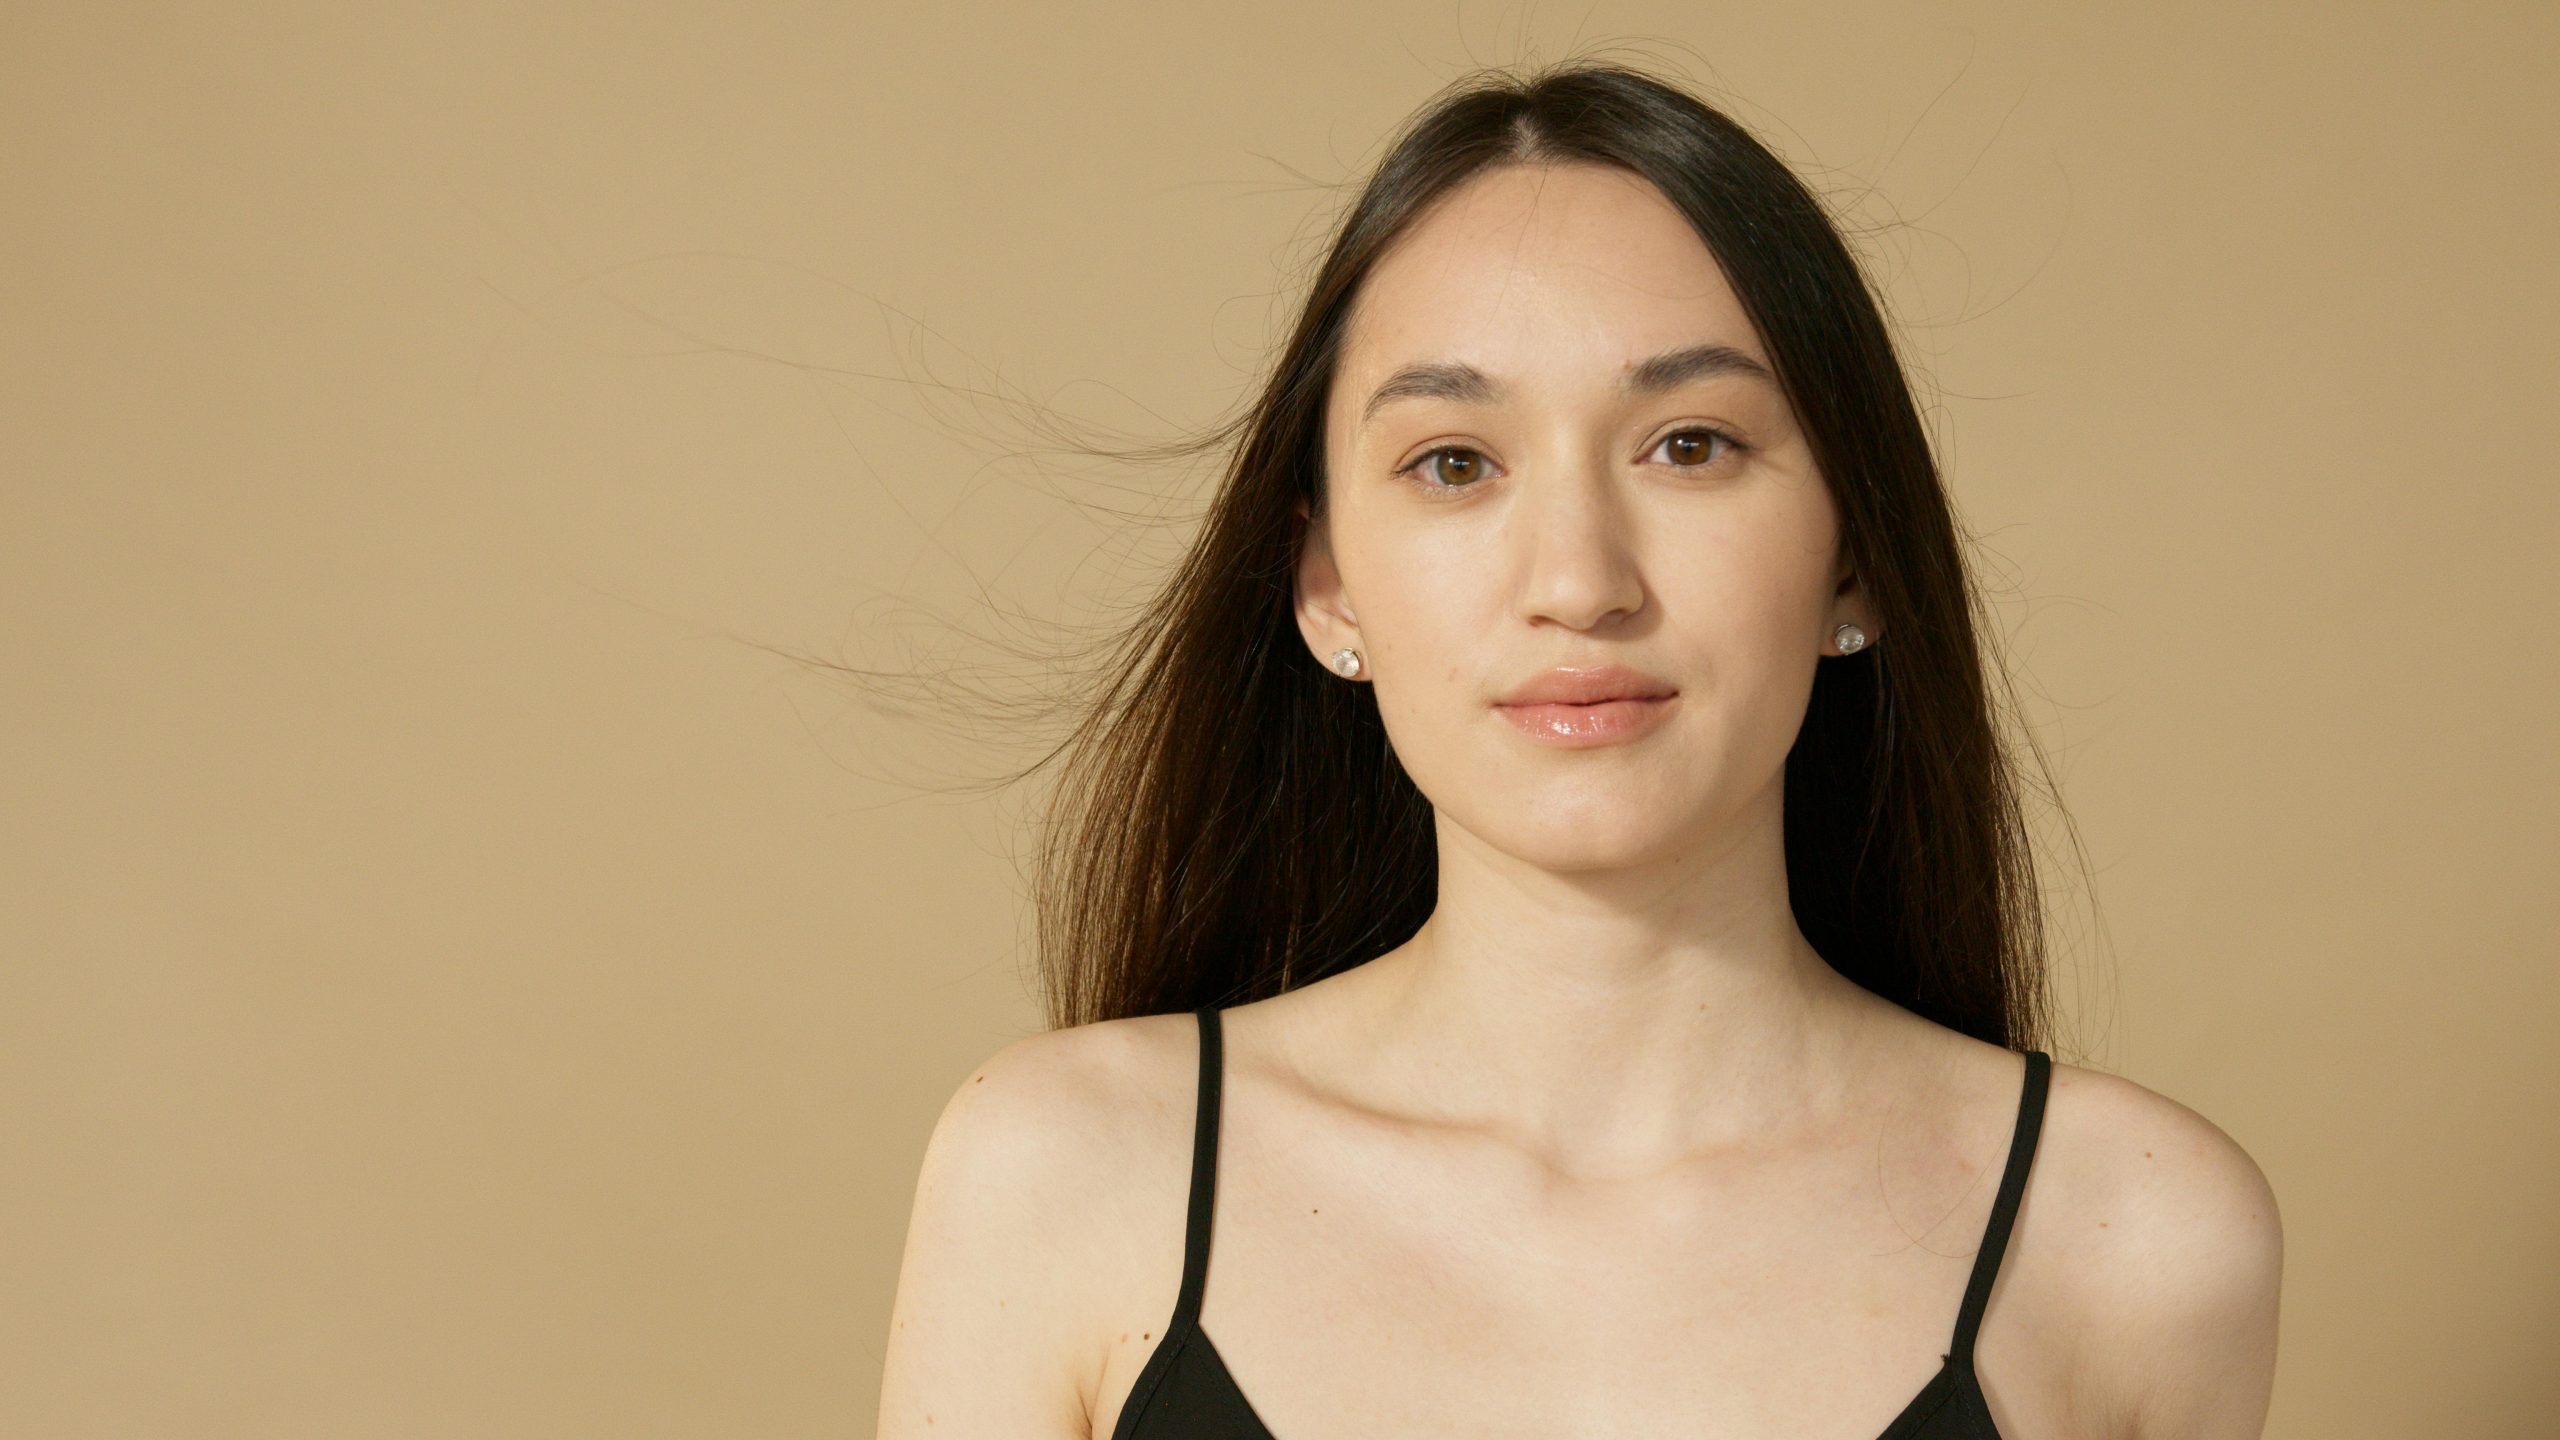
Step 1: Create a Flawless Base with Tinted Moisturizer or BB Cream
Think of your tinted moisturizer or BB cream as your all-in-one hero. It takes care of hydration, adds a little coverage, and leaves your skin glowing without feeling heavy like a full foundation.
How to use it:
- Prep your skin first. Cleanse and apply a light moisturizer (if your BB cream doesn’t already have enough hydration).
- Squeeze a pea-sized amount onto your fingertips—less is more here.
- Apply with your fingers. Warm the product between your hands and press it into your skin, starting from the center of your face where most redness or unevenness occurs (nose, cheeks, and forehead) and blend outwards.
- Build where needed. If you need a bit more coverage (around the nose, chin, or under the eyes), tap on a little extra product and blend gently.
Pro tip: Choose a formula with SPF so you’re protecting your skin while perfecting it.
Why it works:
Unlike heavy foundations, tinted moisturizers and BB creams even out your skin tone, blur minor imperfections, and keep your face looking like skin—just better.
Step 2: Add Color and Dimension with Cream Blush
Cream blush is a game-changer for a minimalist routine. It gives you that natural, “just went for a brisk walk” flush, and it’s incredibly easy to use—no brushes required.
How to use it:
- Start with a tiny amount. Cream blush is buildable, so it’s better to add more later than to go overboard.
- Smile and dab. Apply the blush to the apples of your cheeks with your finger, then gently tap and blend it upwards toward your temples.
- Blend well. Use your fingertips to melt the product into your skin so there are no harsh edges.
- Use it on your lips too. Pat the same blush lightly onto your lips for a monochromatic, effortless vibe.
For a lifted look: Place the blush slightly higher on your cheekbones and blend toward the hairline.
Why it’s a must-have:
Cream blush instantly wakes up your complexion and adds dimension after you’ve evened out your skin. Plus, it works for any skin type and keeps that dewy, natural finish going strong.
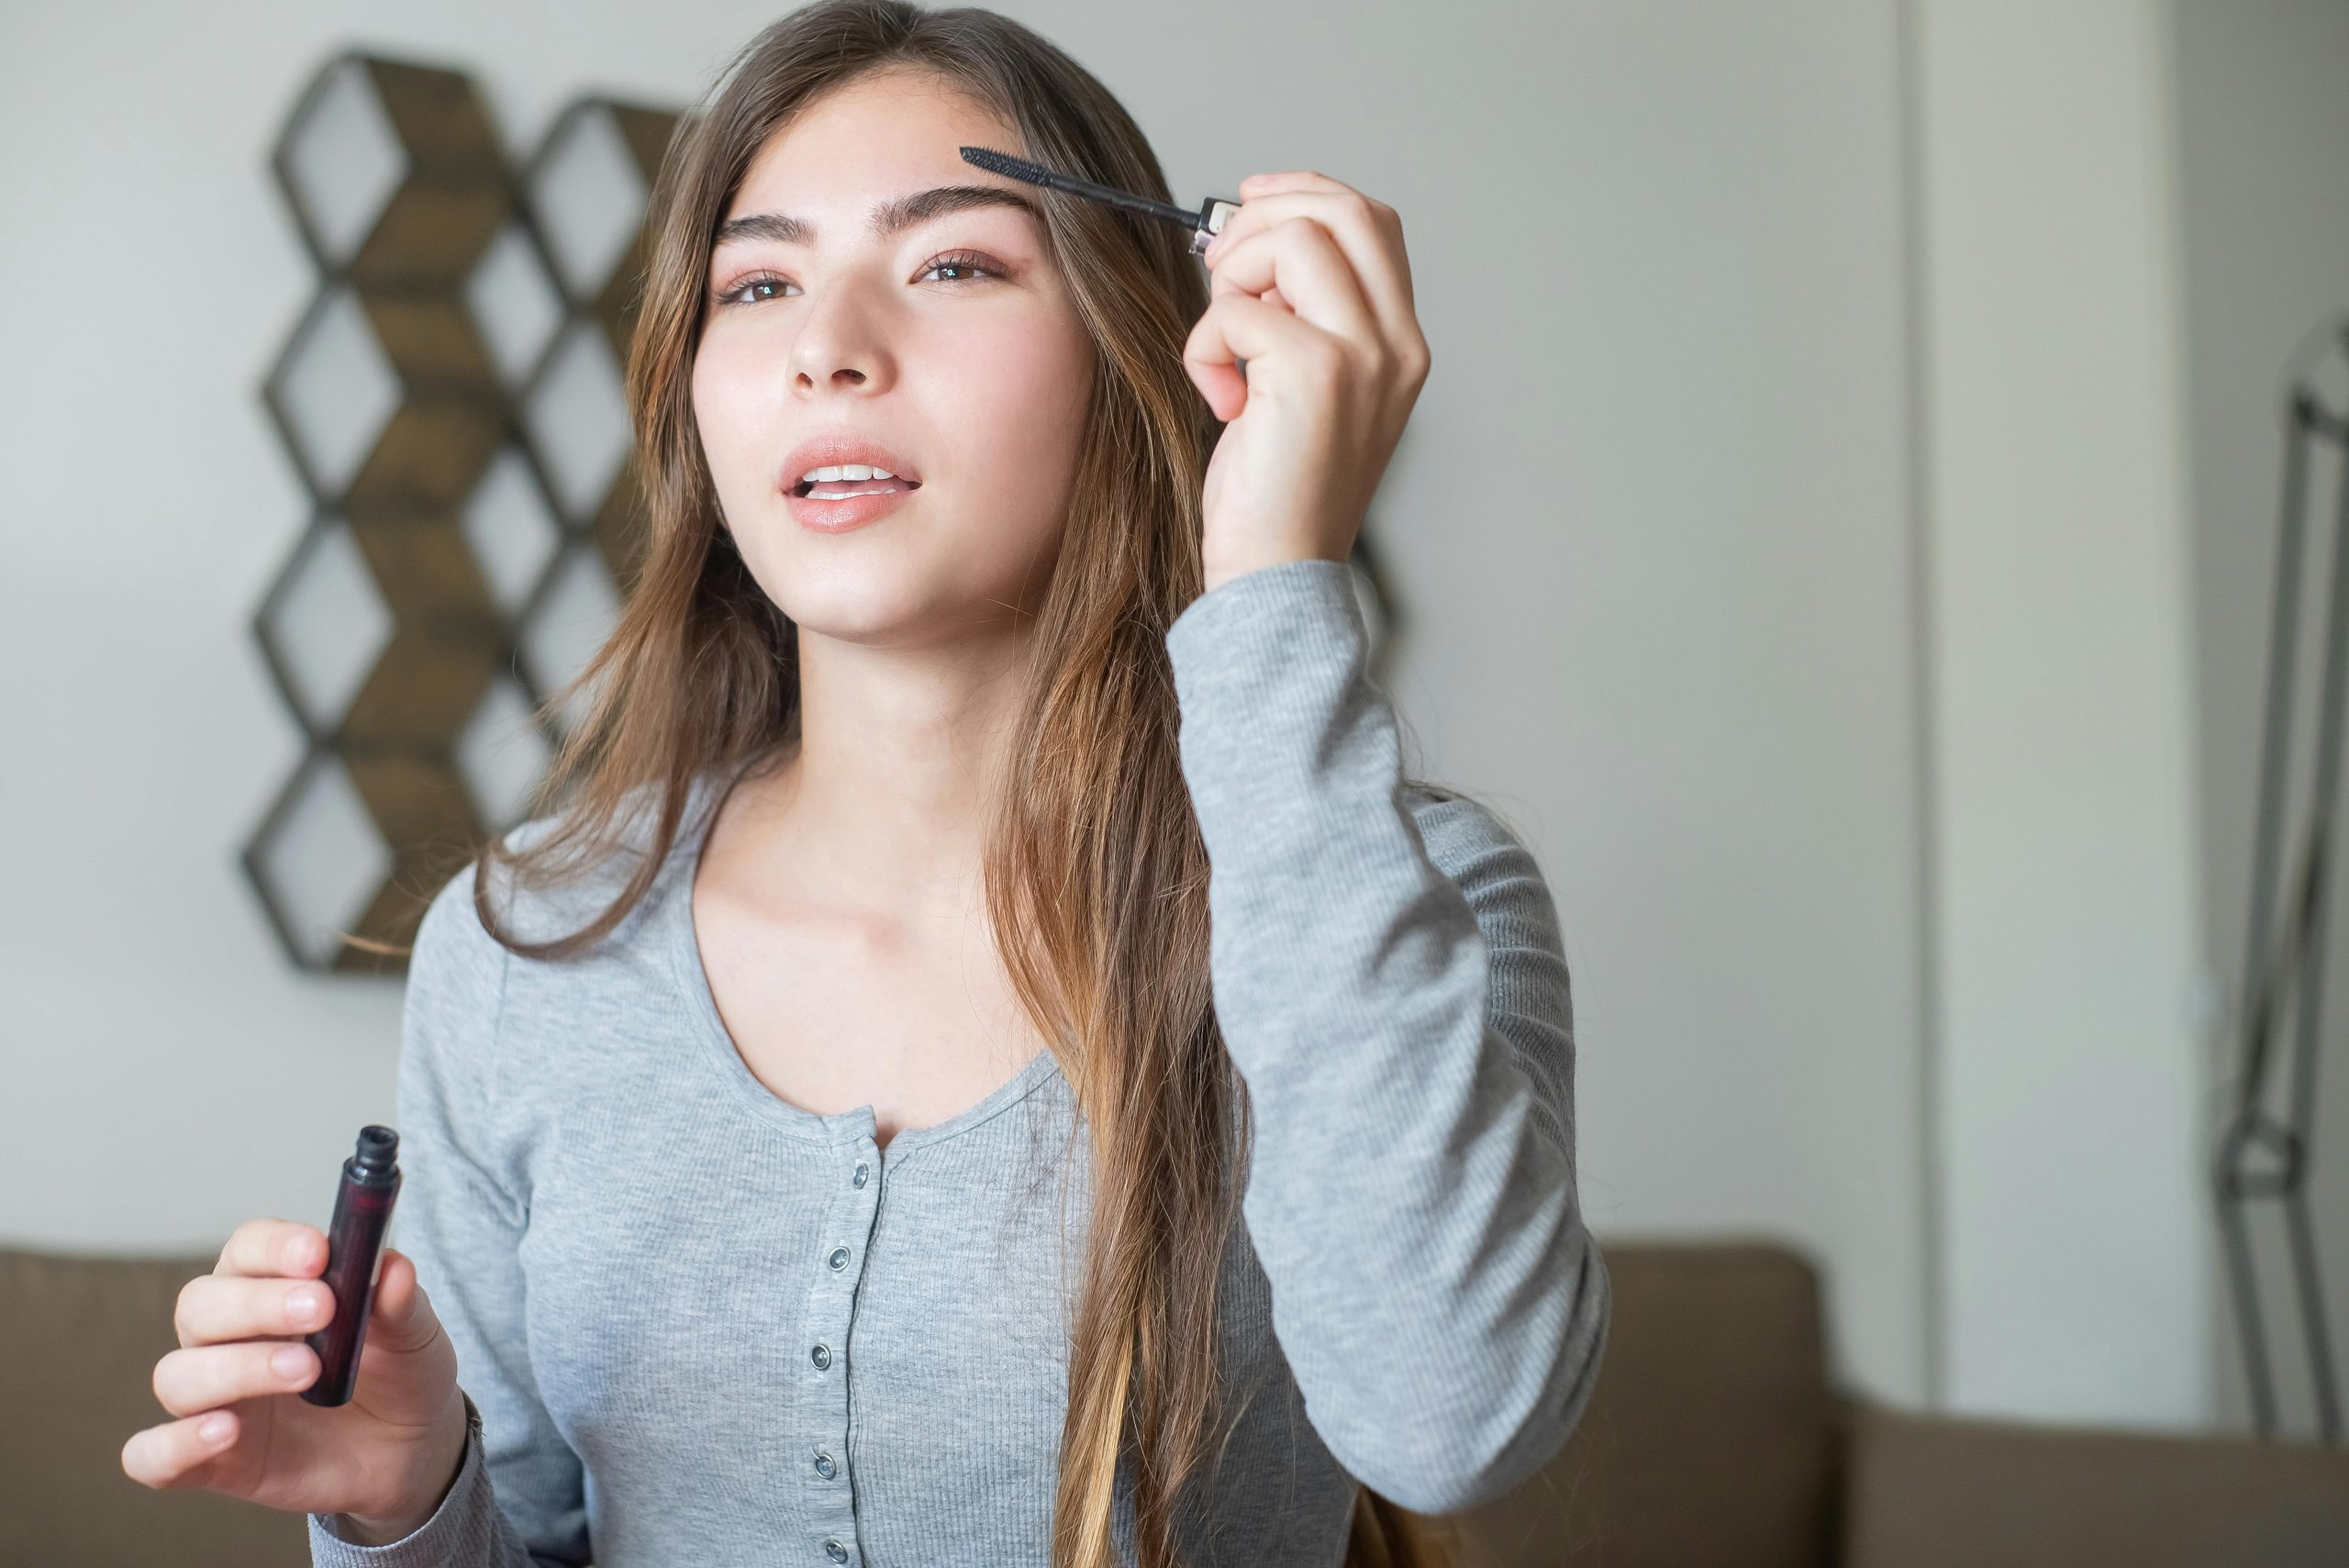
Step 3: Define Your Brows with a Brow Gel or Pencil
Your brows shape your entire face. Even if you skip everything else, defined brows make you look instantly more polished.
How to use it:
- For pencils: Use short, hair-like strokes to mimic your natural brow hairs. Focus on filling sparse spots instead of drawing harsh lines.
- For gels: Brush the product through your brows in an upward and outward motion. This not only tints and fills but also sets them in place all day.
- Less is more. Keep it soft; bold, overly filled brows can overpower a minimalist look.
Minimalist tip: If you’re pressed for time, tinted brow gel is your best friend—it’s a filler, tinter, and setter in one quick step.
Step 4: Brighten the Eyes with Mascara
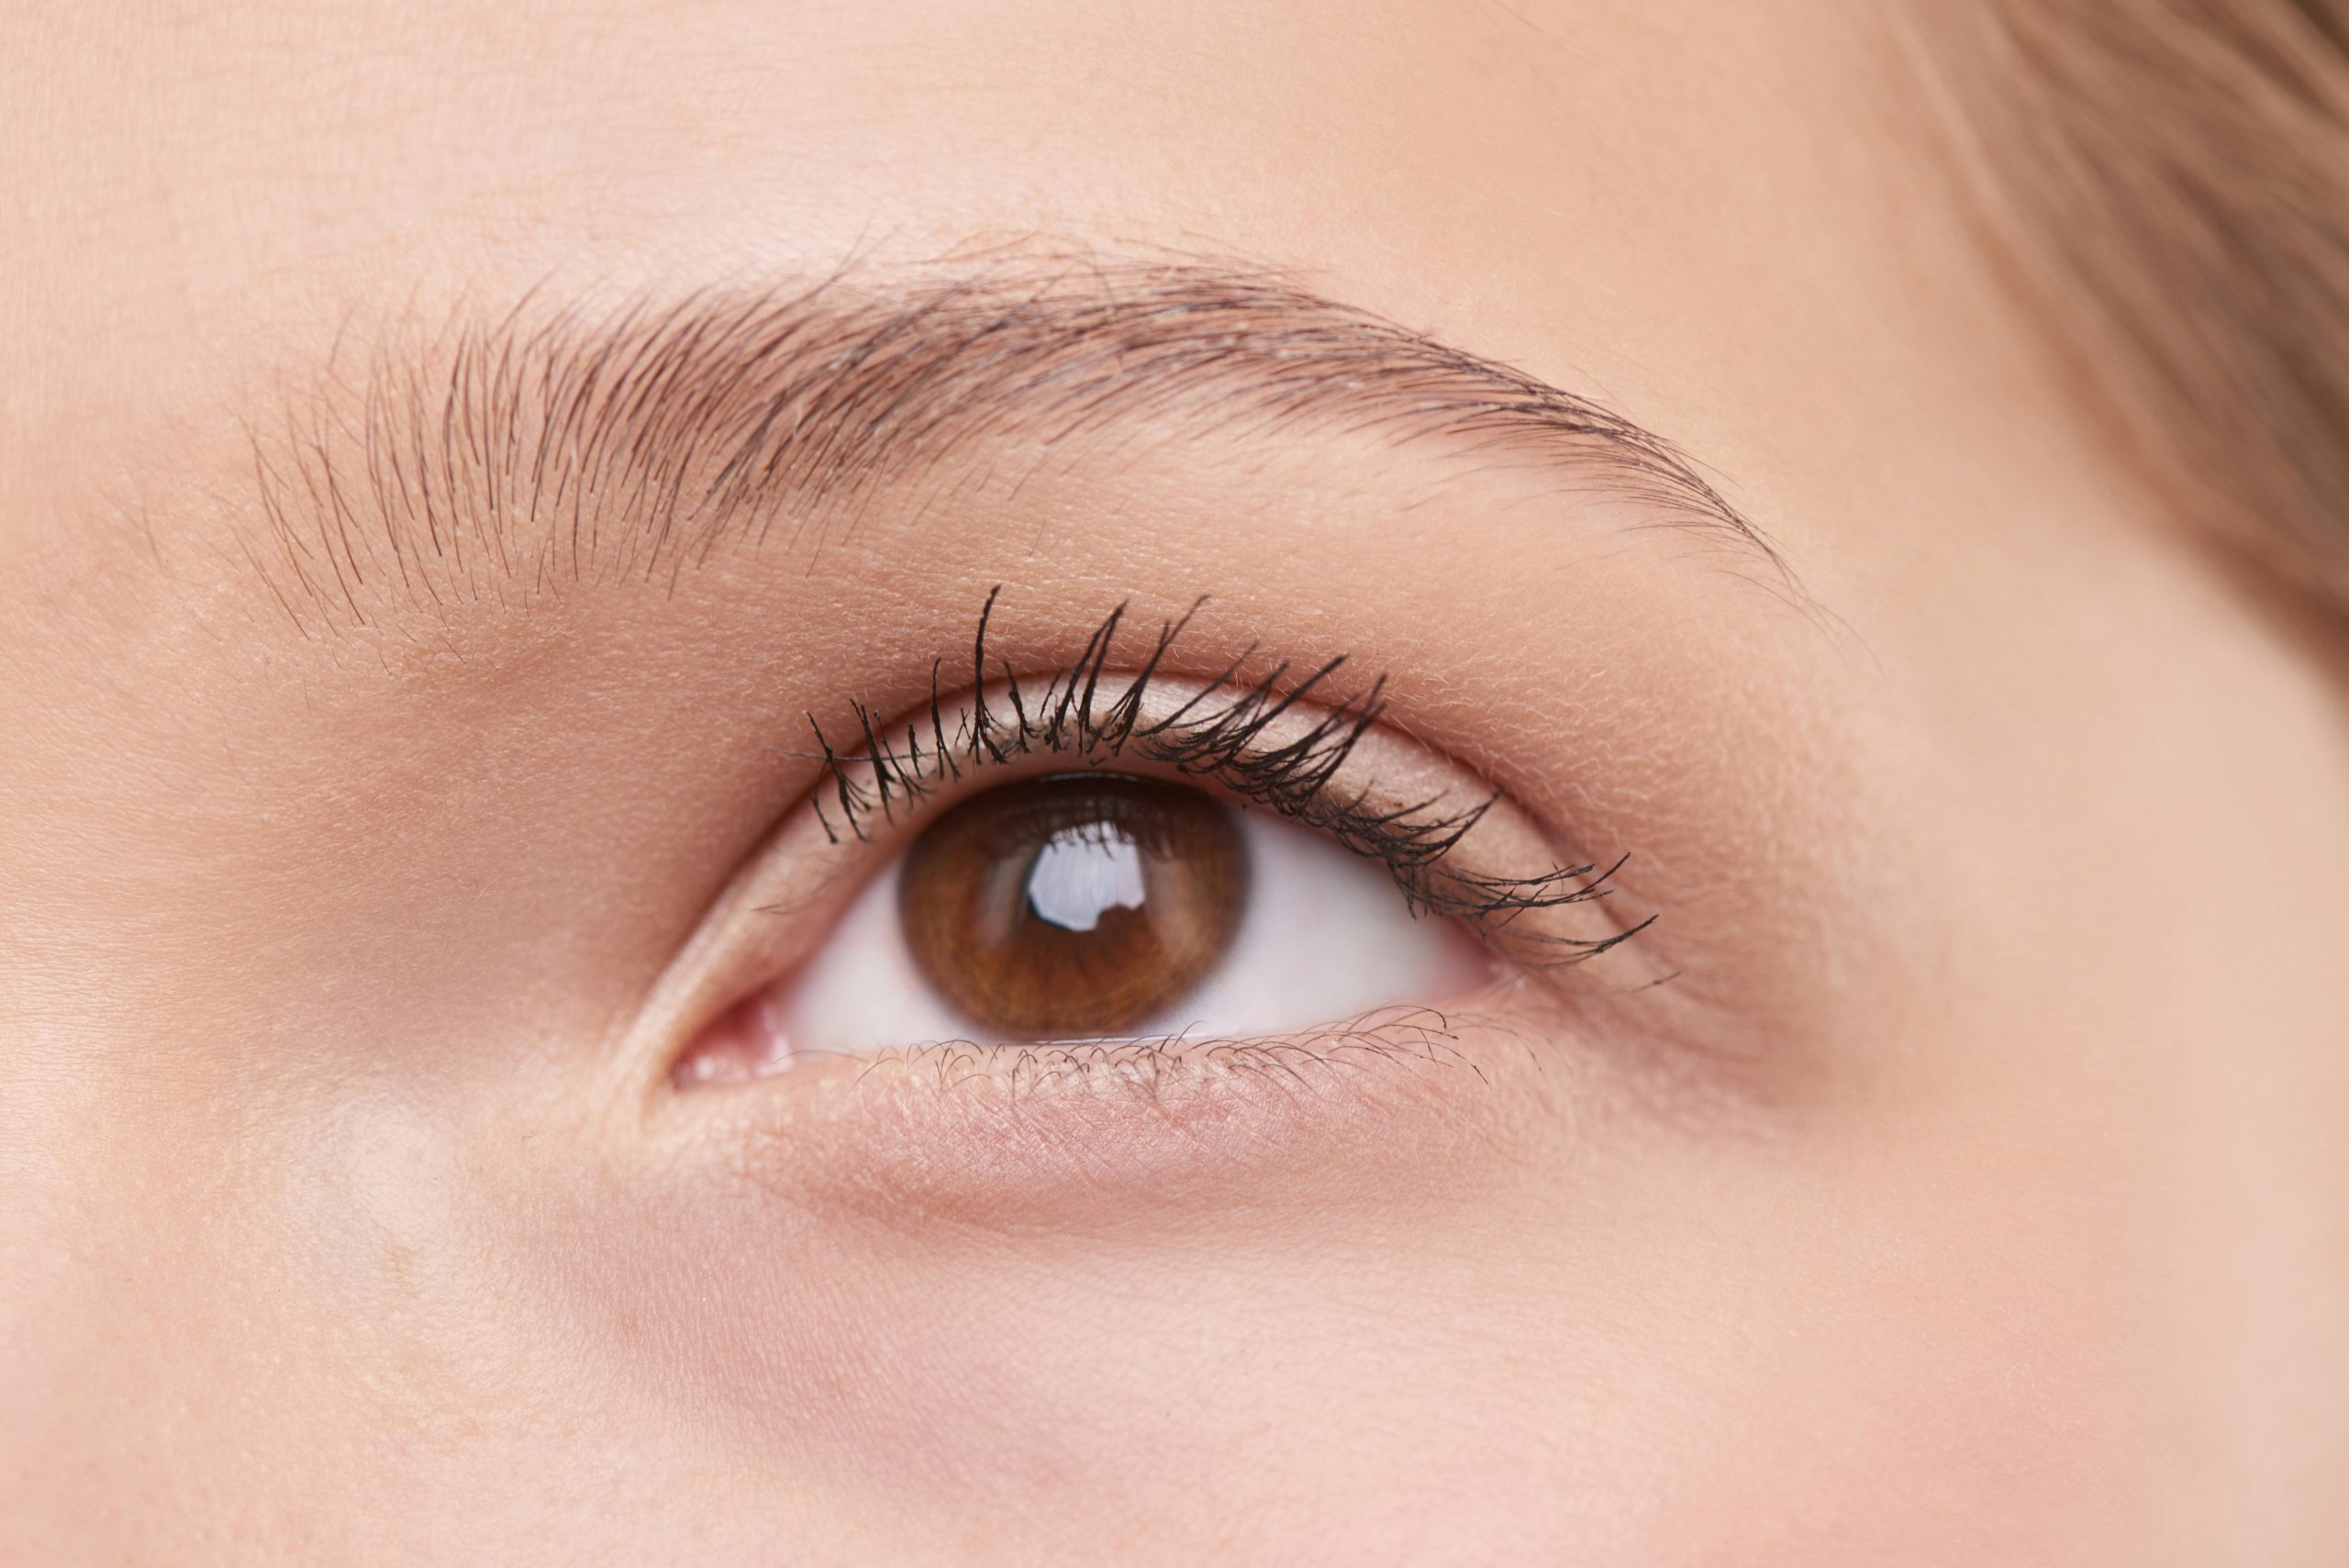
Mascara is the quickest way to look awake and refreshed. Just a few swipes and your eyes look more open and defined—no eyeshadow or liner required.
How to apply:
- Curl first (optional but game-changing). If you have a lash curler, use it to give your lashes a lift.
- Start at the roots. Place the wand at the base of your lashes and wiggle it slightly as you pull upward. This deposits more product at the roots, giving a fuller look.
- Layer if you want drama. For daytime, one coat is enough. For night, let the first coat dry slightly and add another for more volume.
- Lower lashes? A light touch is all you need to avoid smudging.
Optional hack: Brown mascara gives a softer, natural finish—perfect for minimal makeup days.
Why it matters:
Mascara opens up your eyes and adds definition without needing extra products. It’s the fastest way to fake a full night’s sleep.
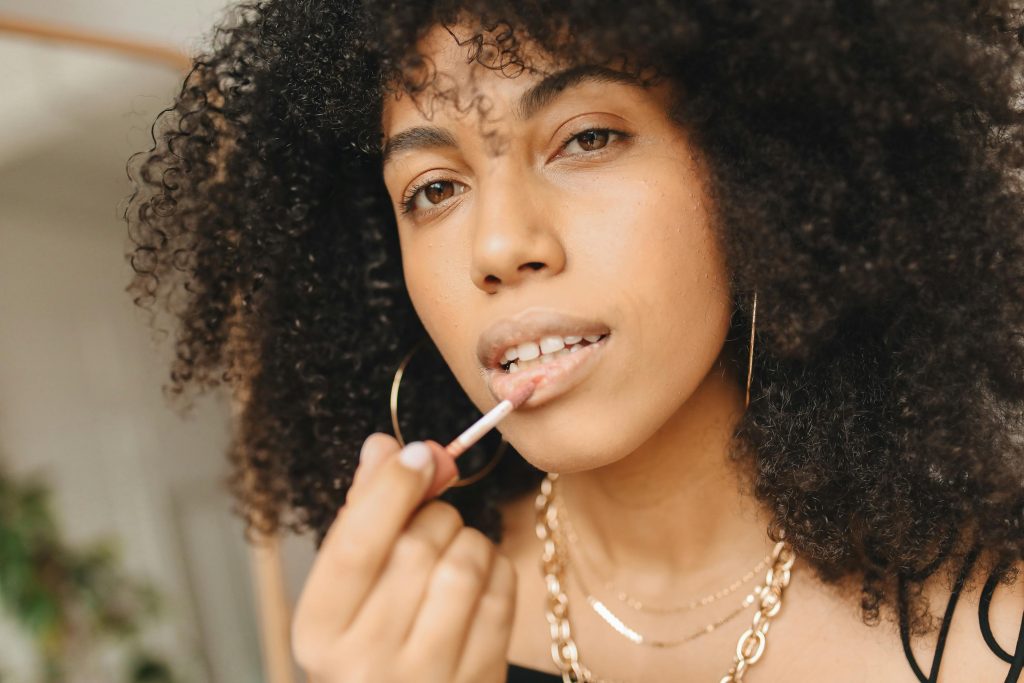
Step 5: Finish with a Multi-Use Lip and Cheek Tint
The final touch? A product that pulls your whole look together. A multi-use tint or balm gives your lips color and your cheeks an extra glow (if you want to layer it over the blush).
How to use it:
- For lips: Dab the product onto your lips with your finger and blend it out. You can layer for more intensity or keep it sheer.
- For cheeks: If you didn’t use cream blush, apply the tint to the apples of your cheeks. If you did, you can still use a small amount to add depth or change the tone slightly.
- Tap, don’t rub. Tapping keeps the product looking soft and natural.
Smart pick: Choose a shade close to your natural lip color—think soft pinks, peach, or berry—for an effortless, “your lips but better” finish.
Optional: Can You Stretch the Products Further?
One of the coolest things about a minimalist makeup kit is how versatile it is. Each product can pull double (or even triple) duty if you get creative. Here’s how you can get the most out of your five items:
- Cream blush as eyeshadow: Dab a tiny bit on your eyelids and blend with your finger. It gives you a soft, monochromatic look that ties your makeup together—no eyeshadow palette needed.
- Tinted moisturizer as a light concealer: Need extra coverage under your eyes or around your nose? Pat on a bit more product in those areas instead of reaching for a separate concealer.
- Brow gel as mascara (clear versions only): In a pinch, clear brow gel can lightly define and hold your lashes. It won’t give the drama of real mascara, but it’ll do the trick.
- Lip tint as blush (or vice versa): If you only packed one product for both, that’s okay! Most cream blushes work beautifully on lips, and many lip tints look fresh on cheeks.
- Mascara as eyeliner: This is a little hacky, but you can use a tiny angled brush to pick up some mascara and smudge it along your lash line for a soft liner effect.
Why bother? Because fewer products mean less weight in your bag, more space in your bathroom, and a routine that can travel anywhere with you.
What Should You Skip?
With a minimalist routine, you’re intentionally cutting out the extra steps that don’t make a huge difference. Here’s what you can confidently skip without sacrificing a polished look:
- Powder (unless you’re very oily): Minimal makeup looks fresh and slightly dewy. Powder can sometimes make things cakey. If you really need it, just dust a little on your T-zone.
- Eyeshadow palettes: They’re fun, but not necessary for a simple, everyday look. Your cream blush can double as an eyelid tint if you want some color.
- Highlighter: Cream blush often gives you that natural glow already, so you can skip the extra shimmer.
- Lip liner: With sheer or balm-like lip products, lip liner isn’t needed. You’ll still get a soft, blended edge.
- Contour/bronzer: Minimalist makeup isn’t about carving out cheekbones—it’s about enhancing your natural features with as few steps as possible.
The idea is to keep it simple—only products that truly make a difference make the cut.
Tips for Making Your Minimalist Makeup Last All Day
A common worry with light, cream-based products is whether they’ll hold up. The good news? With the right techniques, your five-product face can last from morning coffee to evening plans.
- Layer thinly: Instead of slapping on one heavy layer, build up with thin, blended layers. It looks more natural and holds up better.
- Use your fingers to apply: Your body heat helps blend cream products seamlessly into your skin, making them last longer.
- Set strategically: If you do get shiny, only powder the spots that need it—usually the forehead, nose, and chin. This way, your skin stays radiant but not greasy.
- Choose long-wear formulas: Look for words like “long-lasting,” “water-resistant,” or “stain” when buying blush and lip tints. These formulas cling better and fade gracefully.
- Blot, don’t pile on: If you need a midday refresh, gently blot with a tissue and reapply a tiny bit of your products. This keeps things fresh without layering too much.
Bonus tip: Keep your lip and cheek tint in your bag for quick touch-ups—one product can revive your whole look in seconds.
Who Is This Routine Best For?
This routine is perfect for:
- Busy professionals who don’t have time for a 10-step routine.
- Students juggling classes and a social life.
- Travelers who want to pack light.
- Anyone new to makeup who wants to start with the basics.
- Minimalists who love clean, natural beauty looks.
How to Build a Capsule Makeup Bag
If you’re loving the 5-product idea and want to make it your new normal, consider creating a capsule makeup bag. Stick with:
- Products you love and use consistently
- Colors that work with every outfit
- Items that are travel-friendly and multi-use
A well-thought-out capsule makeup bag simplifies your life, reduces waste, and makes beauty more intentional.
What Brands Make Great Minimalist Makeup?
While there are lots of brands out there, some are known for clean, multi-tasking beauty:
- Glossier – known for skin-first beauty and cream-based products
- ILIA – clean ingredients and multipurpose items
- Milk Makeup – stick formats and fast application
- Tower 28 – gentle on sensitive skin and minimalist in function
- e.l.f. Cosmetics – affordable options with strong performance
Don’t forget to read labels and look for terms like “multi-use,” “cream,” “tint,” or “sheer coverage” for best results.
The Bottom Line: Less Really Is More
Minimalist beauty doesn’t mean boring—it means intentional. With the right five products, you can create a fresh, put-together look that suits your lifestyle without the clutter and complexity of traditional makeup routines.
So next time you’re getting ready, challenge yourself: stick to just five. You might be surprised how little you actually need to look your best.
TL;DR: Your 5-Product Makeup Routine
- Tinted Moisturizer/BB Cream: For light coverage and hydration.
- Cream Blush: Adds color and glow to cheeks (and lids).
- Brow Gel/Pencil: Defines and shapes your brows.
- Mascara: Opens up the eyes for an awake look.
- Lip & Cheek Tint: A finishing touch of color for lips and cheeks.
That’s it—five products to a beautiful, easy, minimalist makeup look.